api 공부 기록
환경 설정
- requirements.txt 파일 작성
fastapi
uvicorn[standard]

실습
- "message":"hellow world"
- 터미널에서 호출 방법: univocorn main:app
from fastapi import FastAPI
app = FastAPI()
@app.get("/")
async def root():
return {"message":"hello world"}
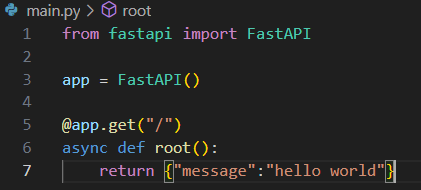

main:app의 의미
- main.py에서의 main
- app = FatAPI(), @app에서의 app
만약 main.py를 hello.py로 변경 & app명칭을 world로 변경하면?
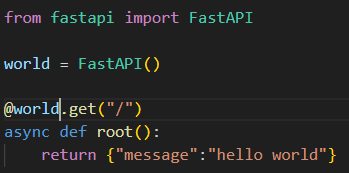
uvicorn hello:world처럼 입력하면 됨
다시 돌아와서,
uvicorn main:app을 하게되면, 기본 port로 8000이 잡히는데,
uvicorn main:app --port 5000 등 포트번호를 설정할 수 있음
--reload를 하면 코드 변경 후 저장했을 때, 자동으로 reload 하게된다
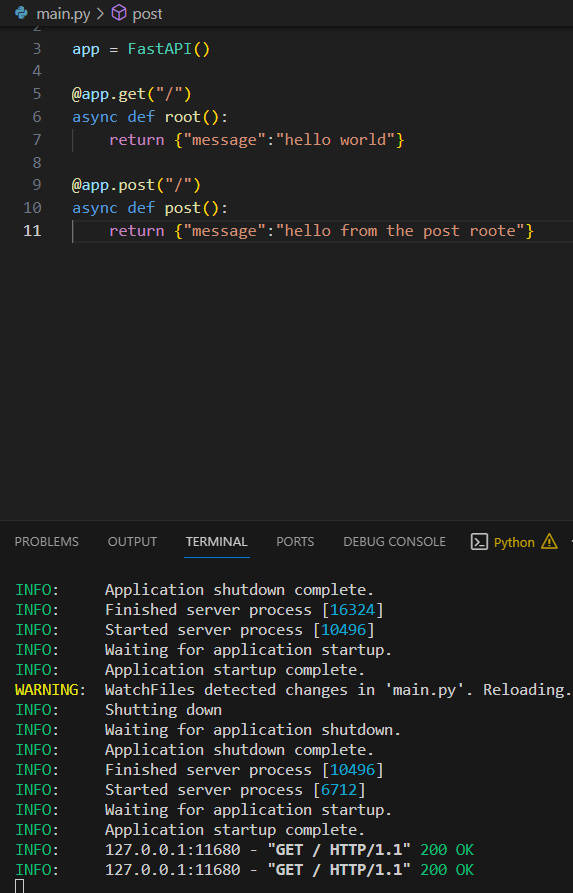
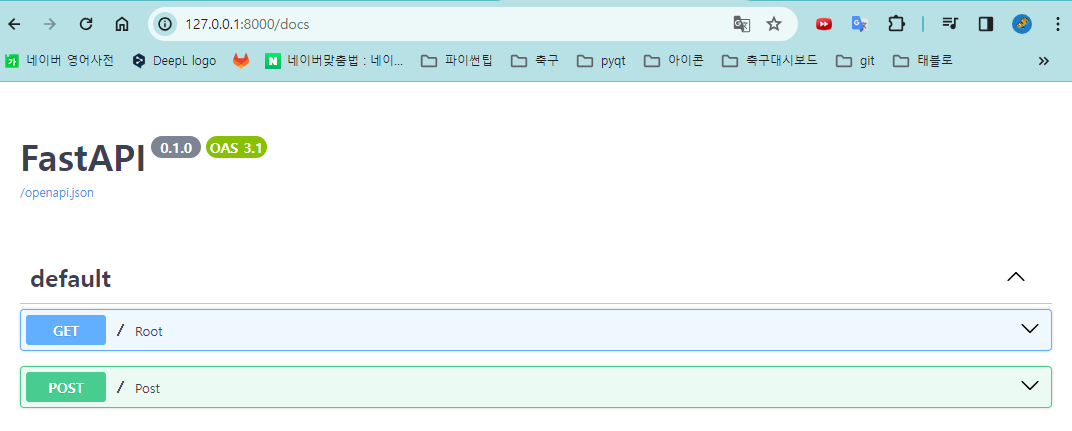
postman과 같은 앱 대신 쉽게 확인할 수 있을 것 같다.
아까 했던 --reload 기능을 확인하기 위해, put을 추가하여 저장 후, 다시 docs를 확인해보기로 한다.


화살표를 펼쳐, 자세한 사항을 확인해본다.
대표로 get만 확인해본다.

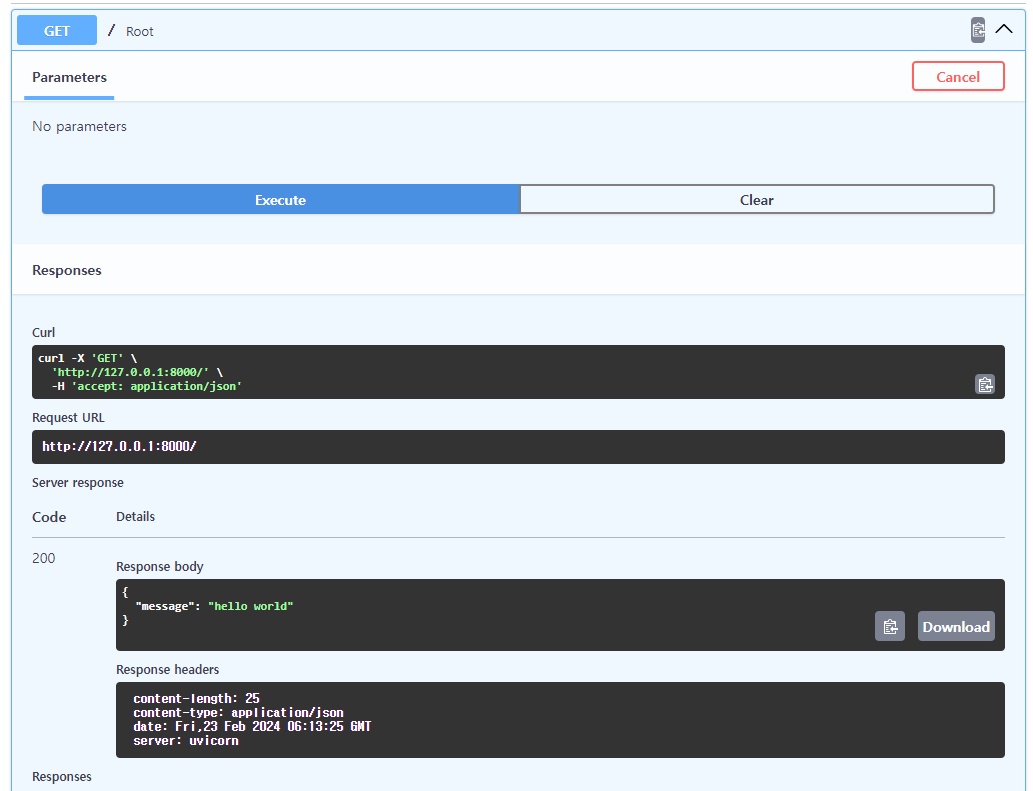


구글에 swagger docs를 검색해 공식 문서를 확인해보자
Swagger Documentation
swagger.io
전체 코드
'Python > API' 카테고리의 다른 글
| Fast API Tutorial(3.5): toy project(calculator) (0) | 2024.03.01 |
|---|---|
| Fast API Tutorial(3): query parameters (0) | 2024.02.24 |
| Fast API Tutorial(2): path parameters (0) | 2024.02.23 |


